Showing posts with label leather. Show all posts

2012-05-16

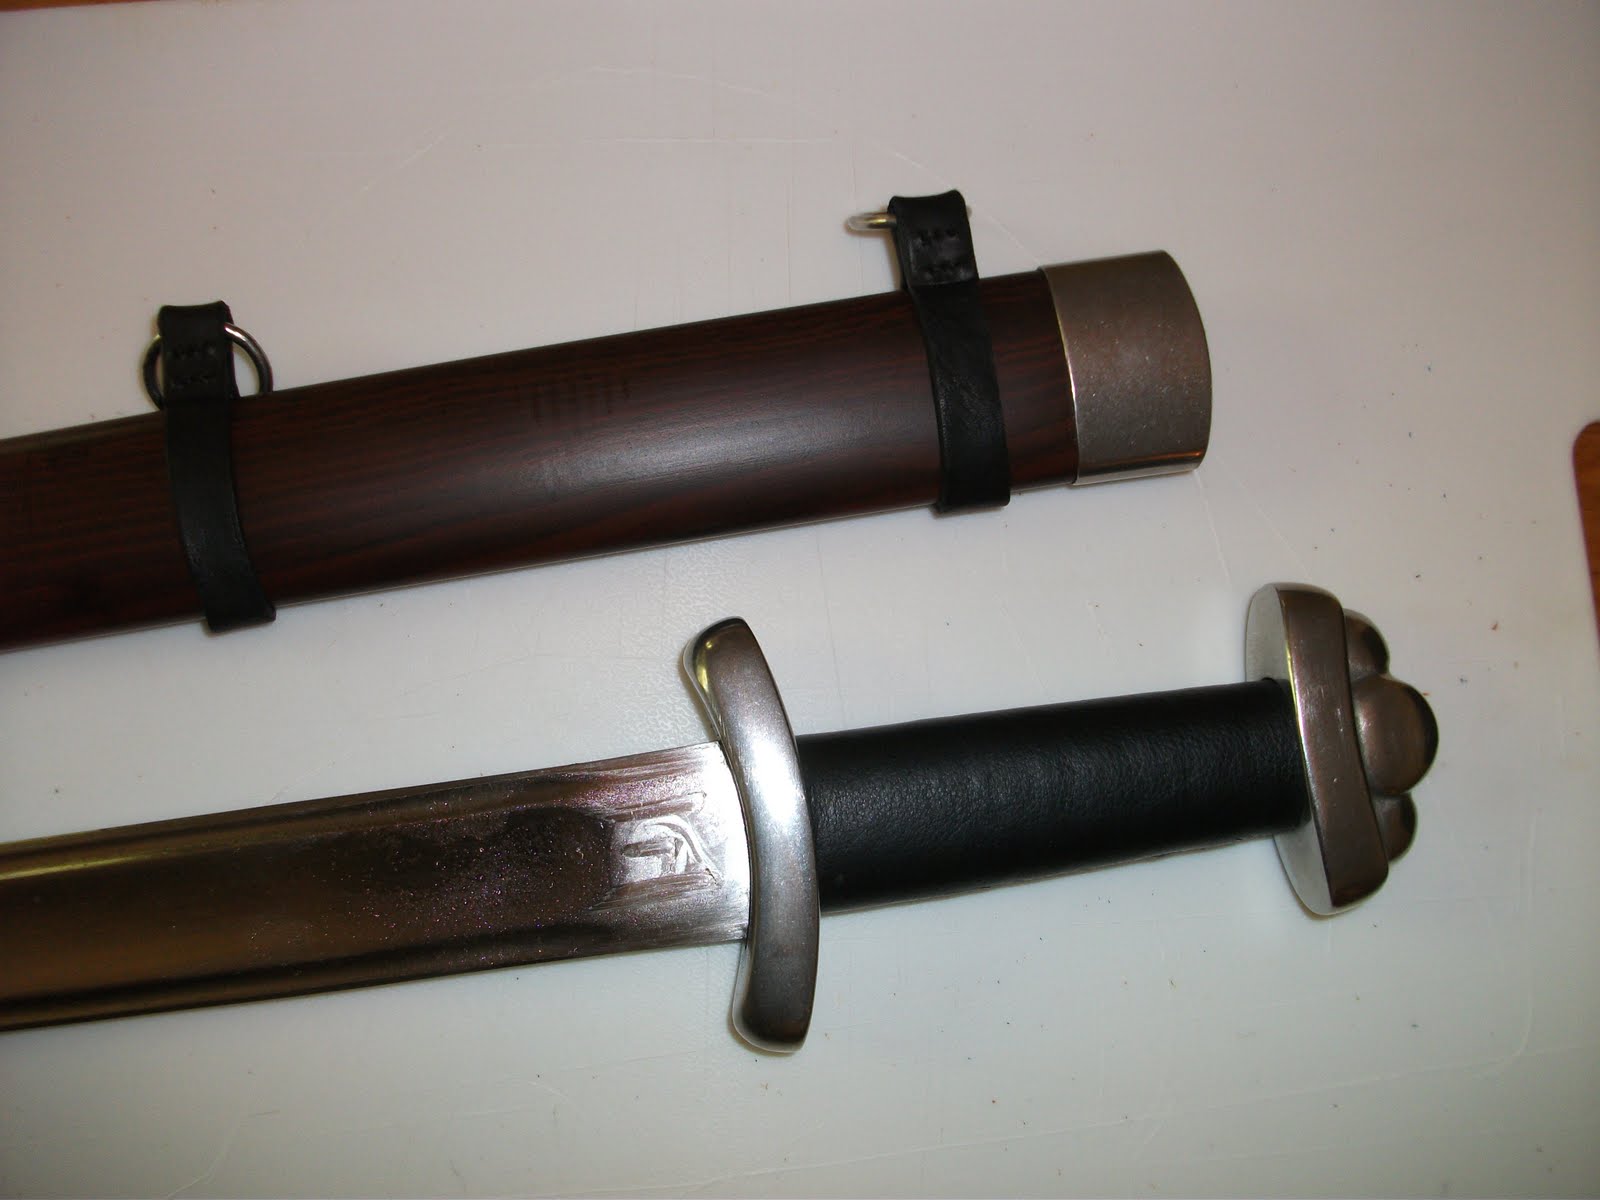
Leather Scabbard, Poplar Core

Vegetable tanned leather over poplar wood core.  Light Russet dye, custom tooling.  Shown prior to assembly with integral belt suspension.


After assembly with integral belt suspension.  Belt dyed black with "Vingaroon" solution consisting of 1/2 pad #0000 steel wool soaking in 1 pint vinegar for 2 days.  Belt was then treated with Dr. Jackson's balm, 2 coats super sheen, 2 coats atom wax.  Buckle from Viking Leather Crafts.

Remaining tasks: rain flap stitching, cuts on front for lace.

2012-04-18

Sword Belt

Leather sword belt, with custom tooling.  I think the rivets really spoil the effect. In the future I will avoid all rivets and join pieces by braiding.

2011-11-02

Oxblood Baldric


This baldric with attached sword frog was made with 2" vegetable tanned belt strap blank and brass hardware. Belt was grooved, embossed then hammered. Oxblood dye was applied liberally, then a top coat of tan gel antique applied. Three coats of atom wax and this was done. The frog is a bit awkward and will probably switch it out for a more durable suspension system.

2011-05-21

Customized CAS Hanwei Practical Single-Hand Sword


I'm still in the experimental phase so I went quick and dirty again. I'm more or less satisfied with the results of this project given the money and modest time investment. I'm almost ready to make a bit more serious attempt.
I stripped off the fake leather grip to reveal a hardwood handle with pronounced lathe work. Rather than rework the wood I decided to simply cover it. I measured and cut 2 oz leather to fit then soaked it in hot water for about 5 minutes. I did not skiv and overlap the leather so again the lacing looks a bit amateur, but it is mostly straight. I will be pre-dying and skiving all seams and gluing the leather down in the next few handle projects, and if I get another lathed handle like this I will rework or replace the wood.
While the grip leather was wet I wrapped the handle with cord and brought out the woodwork detail. After dying the details were hard to see, so I lightly weathered the grip with steel wood then applied gel antique. Finally I added two thin bands of lighter leather at both ends.
Rather than create a wood core scabbard from scratch I just wrapped the stock fiberglass scabbard in 4 oz leather, and left a small amount of the throat and chape exposed. Next time I will make a new wood core. I would have preferred 2 oz leather but the price of 4 oz was 1/3 the cost. I carefully measured the scabbard diameter at 6 inch intervals and cut a piece of leather with an extra 1/4 inch width. The leather was very stiff so I had to soak it in a pot of warm water for about 10 minutes before I could wrap it.
I glued on 2 mm cord risers and wrapped the leather. I stitched up the back and let it dry, then did an experiment and removed the leather, re-soaked it and added some simple leather tooling details. This worked OK though I may try to carefully measure the riser locations and do the tooling before applying the leather to the scabbard.
I dyed the 2mm leather cord a dark brown and restitched the back. Next time I will definitely skiv the leather and allow 3/8" of an inch overlap because the butted seam on the back looks a little amateur.
The suspension system will consist of two dark brown straps that run between each pair of risers.

2011-05-17

Custom Hand-and-a-Half Sword Handle


My first attempt fell a bit short. I was very pleased with the lacing effect the packaging twine had, but the leather shrunk considerably on the handle when it dried and came up short on the edges. I think the risers added about 1/4 inch additional length. Also, the lacing was twisted and looked sloppy. Growing weary of failure, I made multiple careful measurements and created a pattern to be used to cut the leather for this Hanwei Practical Bastard Sword. Also visible are the additional 2mm leather cord risers. I soaked the leather for about 1 minute in warm tap water, let it dry on a towel for a few minutes, poked twice the number of threading holes as before, and lace.
I will let it dry over night and will probably need to trim and re-lace the lower half, soak with a sponge and wrap with twine.

Leather Gorget Pattern


Scale is 1/4" squares. When cutting out each pattern, fold the pattern in half and cut so the sides left-to-right are equal. Included is the metal gorget (baseline) and leather gorget.

2011-05-14

Leather Belt


Brown leather, basic tooling, beveled and burnished edges, brass findings.

2011-05-06

Sword and Scabbard


I decided to go with a brown scabbard with cranberry accents. The only things remaining are the two suspension straps (cranberry) but I don't have the correct rivets yet. Before and after photos.

Frankenscabbard


I need a smaller hole puncher thingy, but this actually looks better than I thought it would. If I had it to do over again I would have spent the extra $20 for a whole piece of leather. The back doesn't look so nice, however. I think in the future I will wrap the leather first, hold it in place with a few stitches during the molding process, then cut the seam down to size and stitch from the bottom up.

Custom Scabbard


Leather wrapped, (manufacturer) fiberglass core scabbard, molded and stitched. The suspension straps will go around both sides of the top fuller molding. The leather is from an $8 scrap bag and I had to stitch 4 pieces together to cover the length of the scabbard. Hopefully the stitching effect will look artistic and not end up evoking a Raggedy Ann motif.

2011-05-05

Custom Sword Handle


Removed existing fake leather handle. Cord wrapped, covered with leather, stretched and stitched, dyed cranberry and antiqued. Matching scabbard this to come.

2011-05-01

2011-04-30

Lamellar first row construction


"What was a I thinking" moment: this is going to take a long time. I've started constructing the first row. The overlapping lames have been cemented together and all that remains is punching about 60 holes, stitching the lames together and at the same time stitching row 1 to row 2. Cutting the shapes and dying them was not very time consuming, but the construction phase is slow!
Pictured here are the last two rows of the front of the breast plate. The top row is piece of tooled 9 oz leather, the bottom row is the overlapping lames.

2011-04-29

Lamellar Dye


I learned a couple of things about leather dye last night. I am using an alcohol-based dye that tends to cause leather to stiffen. Stiff leather won't be an issue if I plan to boil the leather in bees wax, but for clothing this will be a problem.

To keep leather soft and flexible use a water-based dye and manipulate the leather a few times while it is drying. Also: before dying use a leather bleach, let that dry, then dampen the leather with a spray bottle or damp sponge. After the dying process is complete apply a leather oil to increase flexibility.


I'll use water-based dyes for the remainder of the lamellar colors. Luckily I had opted for a varying earth tone pattern, so it shouldn't be a problem if I switch dyes half way through in applications of first, second, and third coats.

Is there too much variation in the colors now? I think the differences in color needs to be more subtle: noticeable but not eye-catching!

2011-04-28

Lamellar Front


I can't decide if I like the middle ground between clothing grade 6oz leather lames and 12oz armor grade lames. The 9oz strap leather I've used may turn out to be a bastard hybrid ill suited to any use! If so, I can always use this as the back piece. Next task is figuring out how to sew these rows of lames to a suede backing, with vertically overlapping rows. Twelve stitching holes per lame, 72 lames, 3 holes per minute: I better fire up some some reruns and settle in for a long night of hole punching!

2011-04-27

Leather Lamellar


There's a really cool looking lamellar styled vest I've seen that uses hour glass shaped leather plates. It's a spin on traditional lamellar that uses a lighter weight leather without any metal plates or scales. The vest I will attempt will have slightly thicker leather so that it can be hardened, and the plates will overlap more to increase the average thickness to about 1/4 inch. Here's the start of the bottom row of scales that will be stitched to a suede backing and the row above. If this turns out well I might try a different version with even thicker lames!

Leather Gorget


After transferring the pattern to the 9oz leather, I cut the shapes out with a utility knife. The front piece had much smoother cuts and I seemed to struggle with the back piece, but I can't remember any difference in technique. Each piece was edged, then dampened and embossed, hammered then shaped and punched for arming straps. After dry a coat of yellow dye, followed by Ox Blood, followed by British tan. Once the Bees Wax arrives I can start experimenting with the cuir bouilli process.

2011-04-25

Leather Gorget Pattern


I'm going to try to make a gorget for each spaulder set with 8/9oz leather, tooling and colors to match. I've got a decent metal sample to start with.
I'm starting to like the way the distressed Oxblood spaulders turned out.

2011-04-24

Spaulders: Oxblood with a British Tan wash


Base coat of Yellow, dried one hour, Oxblood dried one hour, and a quick British Tan wash. I'm not quite getting the shadow effect I had hoped for in the hammered pattern. I may need to hit hammer harder!

2011-04-23

Leather Spaulders: Version Two


I haven't even set the rivets on my first pair of spaulders yet, but I was eager to apply what I had learned in my first attempt. I've also added a hammered appearance to each leather lame by getting each piece damp with a sponge, setting a small ball peen hammer on the leather, then tapping the hammer into the leather with a rubber mallet.
Over all this set appears much cleaner than the first set. I think I will use a lighter shade of brown stain and go for a more weathered look.
Unfortunately I have learned that the leather should be 12-14oz thick, and the first two sets I have made are only 8-9oz thick. Anyone want a costume piece?